

3 Beauty DIYs tried and tested
May 9, 2017
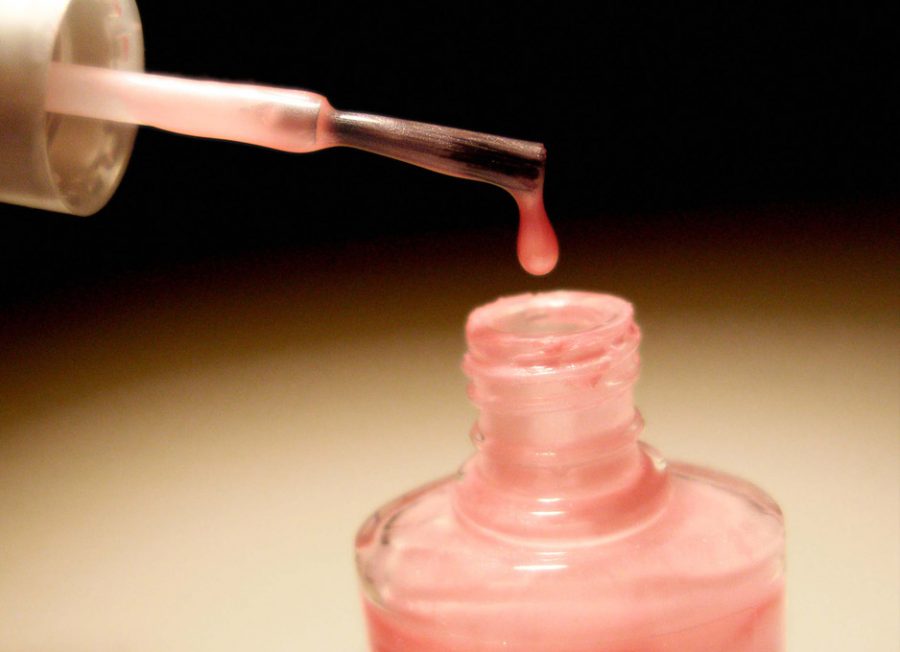
DIY Nail Polish –
Supplies: Clear nail polish, eyeshadow, baggies and a sheet of paper.
Instructions: Have out a couple of clear nail polish bottles. Take any type of eyeshadows, colors or pigment- it does not matter, as long as the eyeshadow is not intended for any future use. Take the nail polish and scrape it into a baggie. Once the eyeshadow is in a baggie, start to crush up the eyeshadow into a fine powder; any clumps will make it more difficult when mixing. Once the eyeshadow is ready, funnel the eyeshadow out of the baggie with a sheet of paper, and put it into a bottle of clear nail polish. Once the powder is in the nail polish bottle, shake the bottle until the nail polish is completely mixed in, and then the nail polish is ready!
Thoughts: The nail polish itself was pretty fun to make. Other than having fun making the actual product, this DIY was pretty much a dud. Once all of the powders were mixed in, the nail polish was kind of hard to apply. The eyeshadow can’t be perfectly mixed in when the mixing process only consists of shaking a bottle. Because of this, the pigment can be pretty uneven. One of the main negatives of this whole experiment was trying to take the nail polish off. Having tried many nail polishes in my life, taking off the eyeshadow polish is the equivalent to taking of glitter polish, which is next to impossible to remove. Not only was it difficult to take off, but it was also a very messy removal. The eyeshadow seemed to separate and proceeded to get all over my hands. Overall, buying nail polish seems a lot easier and does not cost much more than making it yourself. Between buying the bottles of clear polish and the eyeshadow, this DIY can be just a much money as the regular stuff. If there is a certain color that you want that just isn’t on the market, then this is fine, but for everyday type of use, this is just impractical and unnecessary.
Would I do it again? No.
DIY Lip Scrub –
Supplies: 2 tsp of brown sugar, ½ a teaspoon of agave nectar or honey, 1 tsp of olive oil, ¼ teaspoon of vanilla extract, a mixing bowl and a small container to hold the scrub.
Instructions: In a small mixing bowl, add your honey or agave and then mix in the olive oil. Slowly mix in the brown sugar, which will act as the exfoliant in the lip scrub. Once the brown sugar is mixed in, add in the vanilla extract. Mix everything until it is thoroughly combined. One the mixture is complete, pour the mixture into the small container for any later use. To use the lip scrub, place it all over the lips and scrub it in with your fingers and rub your lips together a little bit.
Thoughts: This scrub was fairly easy to make and had little clean up. It also smells really good. At first, when mixing the olive oil and honey together, the mixture smelt really bad, and I was kind of worried that it would be disgusting. Once the vanilla was added, the scent became very strong and overpowered any of the olive oil smell. The scrub itself worked fairly well. I was a little skeptical at first, mostly because the scrub was a little more watery than what I am used to, but it actually did get the job done. I made this scrub with two other people, and they also really liked it. My lips felt free of a lot of dead skin, though definitely not all of it. Once the scrub was taken off, my lips felt pretty dry, but after some lip balm was applied, everything felt smooth enough. I went into this feeling kind of skeptical, mostly because I use and love the lip scrub from Lush, which is the popcorn one. I have to say that though this DIY scrub worked, I do like the Lush scrub better. I mostly like it more because the granules for scrubbing are finer, and also because there are more fun scents. With the DIY, I suppose that you could buy different scented oils to use to create different scents.Overall, it worked, and if you have all the ingredients and want a lip scrub, then this is perfect. It just isn’t as great as the Lush lip scrub.
Would I do it again? Maybe.
DIY Hair Mask –
Supplies: 1 egg yolk, 2 tbsp of coconut oil and 1 tbsp of honey.
Instructions: If you have a lot of hair or long hair, double the recipe. Combine all of the ingredients and either whisk or blend them together. In damp hair, spread the combination throughout evenly and thoroughly, while being mindful of the ends. Once the mixture is spread throughout, tie your hair up and cover it in either a shower cap or saran wrap. Let your hair set for about 30 minutes to an hour. Once the specified time has passed, wash out your hair with shampoo and conditioner. Because there is oil in this, it might take more than once wash to get it completely out.
Thoughts: I haven’t done a hair mask in around a year, so I was pretty excited going into this, wanting to see if it could make my hair any softer and shinier. I have heard a lot about how egg is supposed to be very good for your hair, so I decided that I would choose a mask that had egg in it to test if it really worked or not. The mask was easy to make, though coconut oil can be kind of messy to work with. It also took a minute to separate the egg yolk from the whites. Once all of the ingredients were mixed together the paste looked gross, and was a bright yellow. The application was easy enough, and the wait time was short, being only 30 minutes. I actually kept my mask on for about 45 minutes. The washing out of the mask is actually the hardest part of the whole process. I shampooed my hair about three to four times and noticed the next day that there was still a little left in one part. Other than the little bit left in my hair, this mask worked great. My hair was soft and had hardly any tangles, which is something I deal with everytime I straighten my hair. Lately I have also been having a lot of flyaway hairs, and this mask seemed to calm those down a fair amount as well. Overall, this mask worked great. I have done just coconut oil masks before, and I have to say that this mask worked better. I guess that the whole egg thing is true.
Would I do it again? Yes.